Paradise-Fitness/Sports-Nutrition
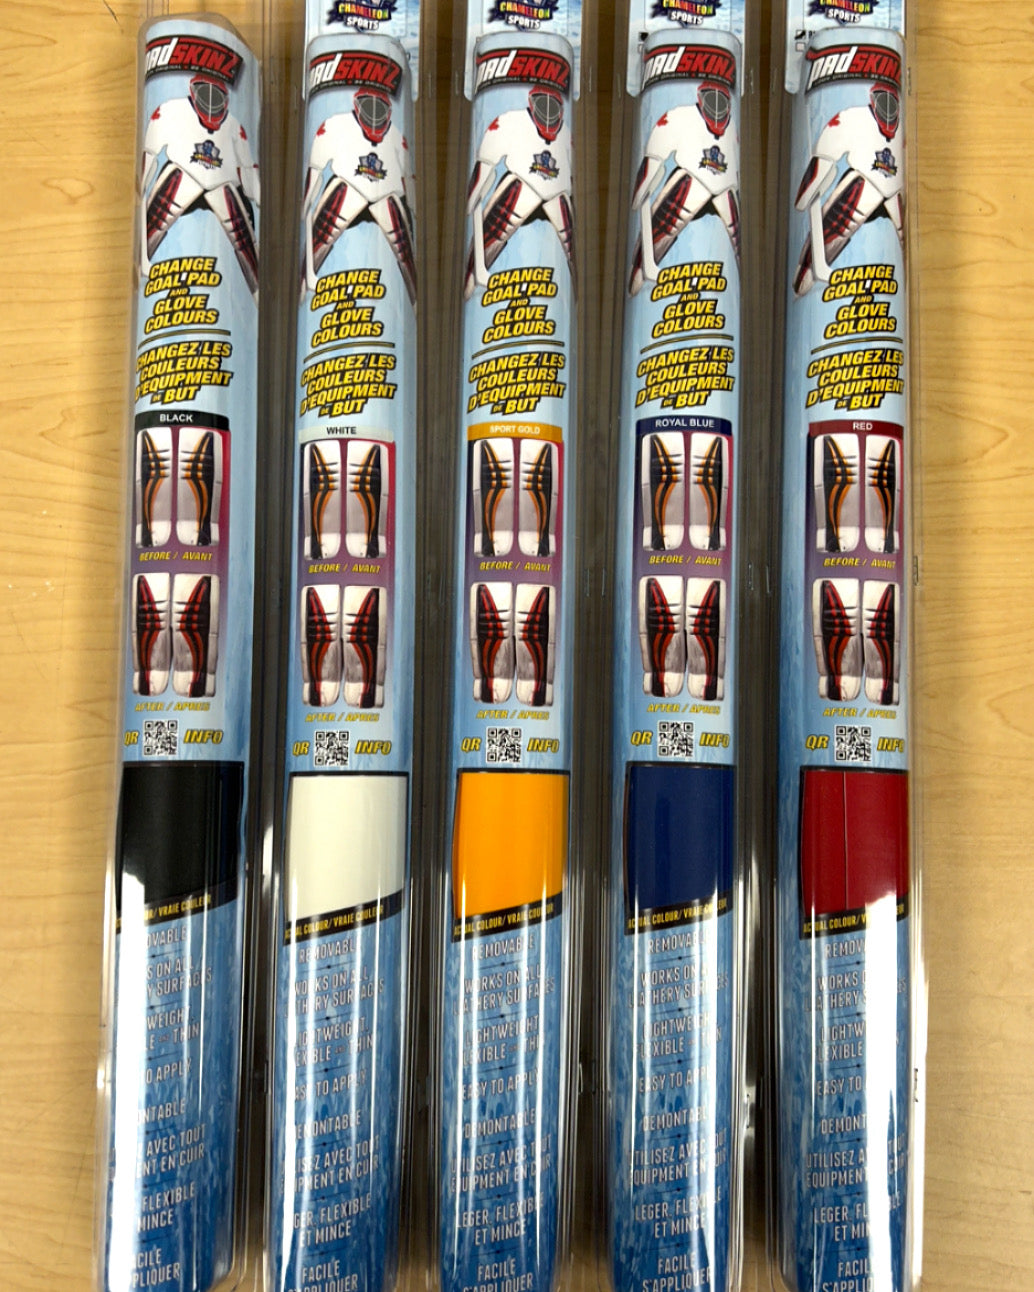
Padskinz Big Roll - 15x54”
Padskinz Big Roll - 15x54”
Couldn't load pickup availability
HOW TO APPLY PADSKINZ
Warning: Do not use PadSkinz on the sliding area of your pads. Please test PadSkinz in a small area first before applying. Chameleon Sports will not be held responsible for any damage to your equipment or personal injury from the installation, use or removal of this product, suggested products or its contents. Installation will require sharp objects and should only be handled by an adult. Please read and follow all safety warnings of these items before use. Please go to www.padskinz.ca/how-to-apply-padskinz/ for the latest installation instructions.
Here’s how to apply our premium PadSkinz product. Please read and follow these directions EXACTLY to obtain an optimal bond with your pad:
- When you receive your order, unpack and unroll your PadSkinz material. Don’t be alarmed by the curvature the packaging has created. It will not affect the adhesion or look of your PadSkinz material. Also, please WASH YOUR HANDS before handling the adhesive, otherwise the dirt and oils from your fingers can affect the bond with your gear. You will need a roll of masking tape or painters tape to do the tracing and a box cutter or scissors for cutting.
- Lay your desired piece of equipment on your work space and begin putting strips of masking tape over the area you need to change. Once the masking tape is on the area, you can use a pencil to trace the shape.
- SLOWLY and CAREFULLY trace the design onto the masking tape with a soft pencil. Make sure you do this as accurately as you can, as this trace will represent how the final product will look. Have patience and take your time here. Wherever there’s a bend, fold or “break” in the equipment like knee rolls or at the ankle for example, start a new piece of PadSkinz. .
- Once the tracing is done, remove the masking tape in one piece from the equipment and lay it down on the PadSkinz material.
- Using a very sharp utility knife or scissors, SLOWLY and CAREFULLY cut that same shape out of your PadSkinz material by following the lines from your trace. You need to be as accurate as possible. Have patience and take your time.
- Once you have cut the PadSkinz material into the shape you desired, remove the masking tape from the piece. Remove the white protective backing from the back side of the PadSkinz material and carefully place the PadSkinz over the area you want to change.
- When placing it on the equipment, start at one end of the PadSkinz material and slowly push it down on the equipment, working from one end to the other end. Make sure you are not leaving bubbles underneath the material. You want PadSkinz to sit flush with no bumps or bubbles underneath.
- For CCM Speed Skin users or if there’s an area that will not stick well, please use heat from a hair dryer to make the PadSkinz warm (not hot) and press it down on the equipment. Using pressure and light heat should solve any small issues.
- We recommend that you give PadSkinz 48 hours at room temperature to attach to your pad properly before using them on the ice. PadSkinz will never “fall off” if you use them too early. You can use PadSkinz within a few hours of installation but it could affect the long term effectiveness of the adhesive. So the longer, the better.
- Take 5 steps away from your pad, turn around, look and enjoy the new beauty of your pads!
<head><meta charset="UTF-8" /></head>
TIPS
- If you’re applying PadSkinz to the outer vertical roll on your pads, it’s best to start with the front face of the outer roll. Flatten it down to the face of the outer roll first, then fold the sides straight down. When working with the corners, make a 1 inch cut along the fold in the material in each corner. This will allow you to fold one side over the other to make a nice seam on each corner.
- Wherever there is a “break” or fold in the pads or gloves, make a break in the PadSkinz as well, For example, don’t try to use one piece to go over the knee rolls, use separate pieces for each roll.
Share


